Migrating a WooCommerce website can be a daunting task. You want to ensure minimal disruption and prevent loss of new orders during the migration.
WooCommerce stores are dynamic, with customers potentially placing orders at any moment.
That’s why a careful, staged approach is essential.
Step 1: Migrate a Copy of Your Website
By migrating a working copy of the site, you create a safe environment to test functionality without affecting live customers.
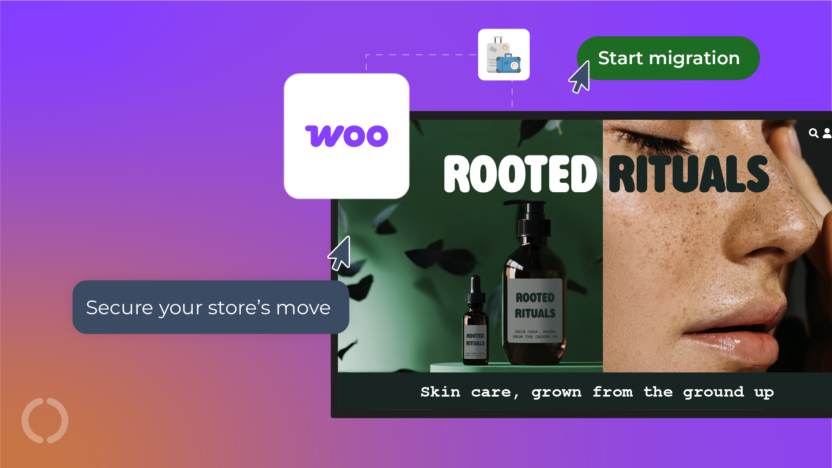
With 20i, you can easily migrate WooCommerce websites using our automated WordPress migration tool, which securely copies your website files and database directly to your hosting plan, with no downtime.
Step 2: Test the Website and Common
Issues
You can check the website using the temporary URL to be sure it is all working before proceeding to the next migration steps. Before going live, test the migrated site thoroughly:
- Browse the store and product pages
- Complete a test checkout
- Verify plugin functionality
- Check payment gateway settings
- Review theme styling and layout
Possible Issues After Migration
Subpages Return 404 Errors
After migration, WordPress sometimes doesn’t refresh its URL rewrite rules. To fix this:
- Go to WordPress Dashboard > Settings > Permalinks
- Click Save Changes (no need to modify anything)
Missing or Corrupted Images
Product or media library images might not display correctly. Things to check:
- Confirm /wp-content/uploads/ has transferred fully
- Ensure file permissions are set correctly. We have a file permission checker tool available in My20i
- Folders: 755
- Files: 644
Ensure the full, correct file path to the image folder or individual image files. You can use the inspect element tool in your browser to check this by right clicking on the image in the browser > inspect. This will open the element tool, and you should see the file path to the image.
<img decoding="async" src="https://20i-demo.com/wp-content/uploads/2022/04/WordPresss.png" title="WordPresss" alt="WordPresss" loading="lazy"> Theme or Plugin Conflicts
The new hosting environment may use a different PHP version or different memory limits (for example, at 20i we set the memory limit to 128MB by default, which can be increased up to 2048MB).
If you see any errors, take the following steps:
- Check PHP version matches the previous host (or use a recommended version like 8.1+ for WooCommerce).
- Increase PHP memory limit (we support up to 2048MB on our Reseller and Managed Cloud hosting plans).
- Temporarily disable plugins one by one to identify conflicts. You can do this using the WordPress Toolset if you’re using our WordPress optimised hosting. (You can also do this with WP-Cli)
SSL/Mixed Content Warnings
HTTP elements on HTTPS pages can break layout or cause browser warnings. You may find that Some URLs are still loading via HTTP instead of HTTPS.
- If you’re using the WordPress Optimised Managed Cloud Server, Managed Hosting or Reseller hosting you can use the Search and Replace tool which is found in the WordPress toolset.
- If you’re comfortable using SSH, you can run a search and replace using WP-Cli
wp search-replace 'http://yourdomain.com' 'https://yourdomain.com' --skip-columns=guid Broken Payment or Shipping Gateways
API credentials might not be valid in the new environment, or sandbox/live keys mixed up.
- Re-enter API credentials manually (don’t assume they copied correctly).
- Confirm you are using Live keys, not sandbox.
- Update webhook URLs to the new domain.
- Check firewall isn’t blocking outgoing API calls.
If you encounter any issues, our support team are available 24/7 over ticket and live chat.
Step 3: Perform Final Sync Before Going Live
Once you’re happy with how the site works, it’s time to prepare for launch. The following steps will ensure that any new orders that have been made or user account changes etc, whilst your website is live with the previous host, are imported to the hosting here.
We’d recommend doing this part during a quiet time for your website.
- Place the old website in maintenance mode or temporarily deactivate it to prevent any new orders or data from being missed during the final database copy. You can use a plugin such as ‘Maintenance’ .
- Export a fresh copy of the live database. You may need to contact your hosting provider for a copy if you do not have access.
- Import the latest database into your new hosting environment to ensure all recent orders, customer accounts, and changes are included. You can import the database using phpMyadmin. However, if the file is too large, you may need to import using the command line via SSH or WP-CLI.
To import using SSH, you will need to upload the backup .sql file to the webspace, using the file manager or FTP and you can import using the following command. You will also be asked for the database password.
mysql -u username -p database_name < backup.sql
If your hosting provider supports WP-CLI, you can import using the following command
wp db import backup.sqlStep 4: Prepare DNS and SSL
If you’re using our nameservers, we recommend:
- Pre-setting DNS records (A, AAAA, MX, etc.) within your control panel to match your existing provider. We recommend using our DNS import tool if you have a lot of records.
- Once DNS settings are ready, switch the domain’s nameservers to ours and install our Free SSL
- When the Free SSL has installed, you can update the A/AAAA records to point to the hosting here. You can select the option ‘Reset to default’ in the DNS management area if all your hosting services are with us. If not, you can find the IP address information in your hosting control panel
Since the SSL certificate is already installed, your site will remain secure and free from SSL errors after DNS propagation.
Conclusion
To conclude, migrating a WooCommerce website using a staged approach significantly reduces risk and protects your orders, customer data and revenue.
By first creating a copy of the live site in a staging environment, you can test functionality, payment gateways, and plugins without affecting customers.
This helps identify and resolve issues before they impact sales. A staged migration also ensures orders aren’t missed or duplicated and allows you to plan the final DNS switch carefully, minimising downtime and disruption.
