We all know the importance of fast-loading web pages. Google loves them and so do your visitors/customers.
If you run an agency or business/ecommerce site, it’s likely you’re always looking for ways to make your website(s) the absolute fastest on the market.
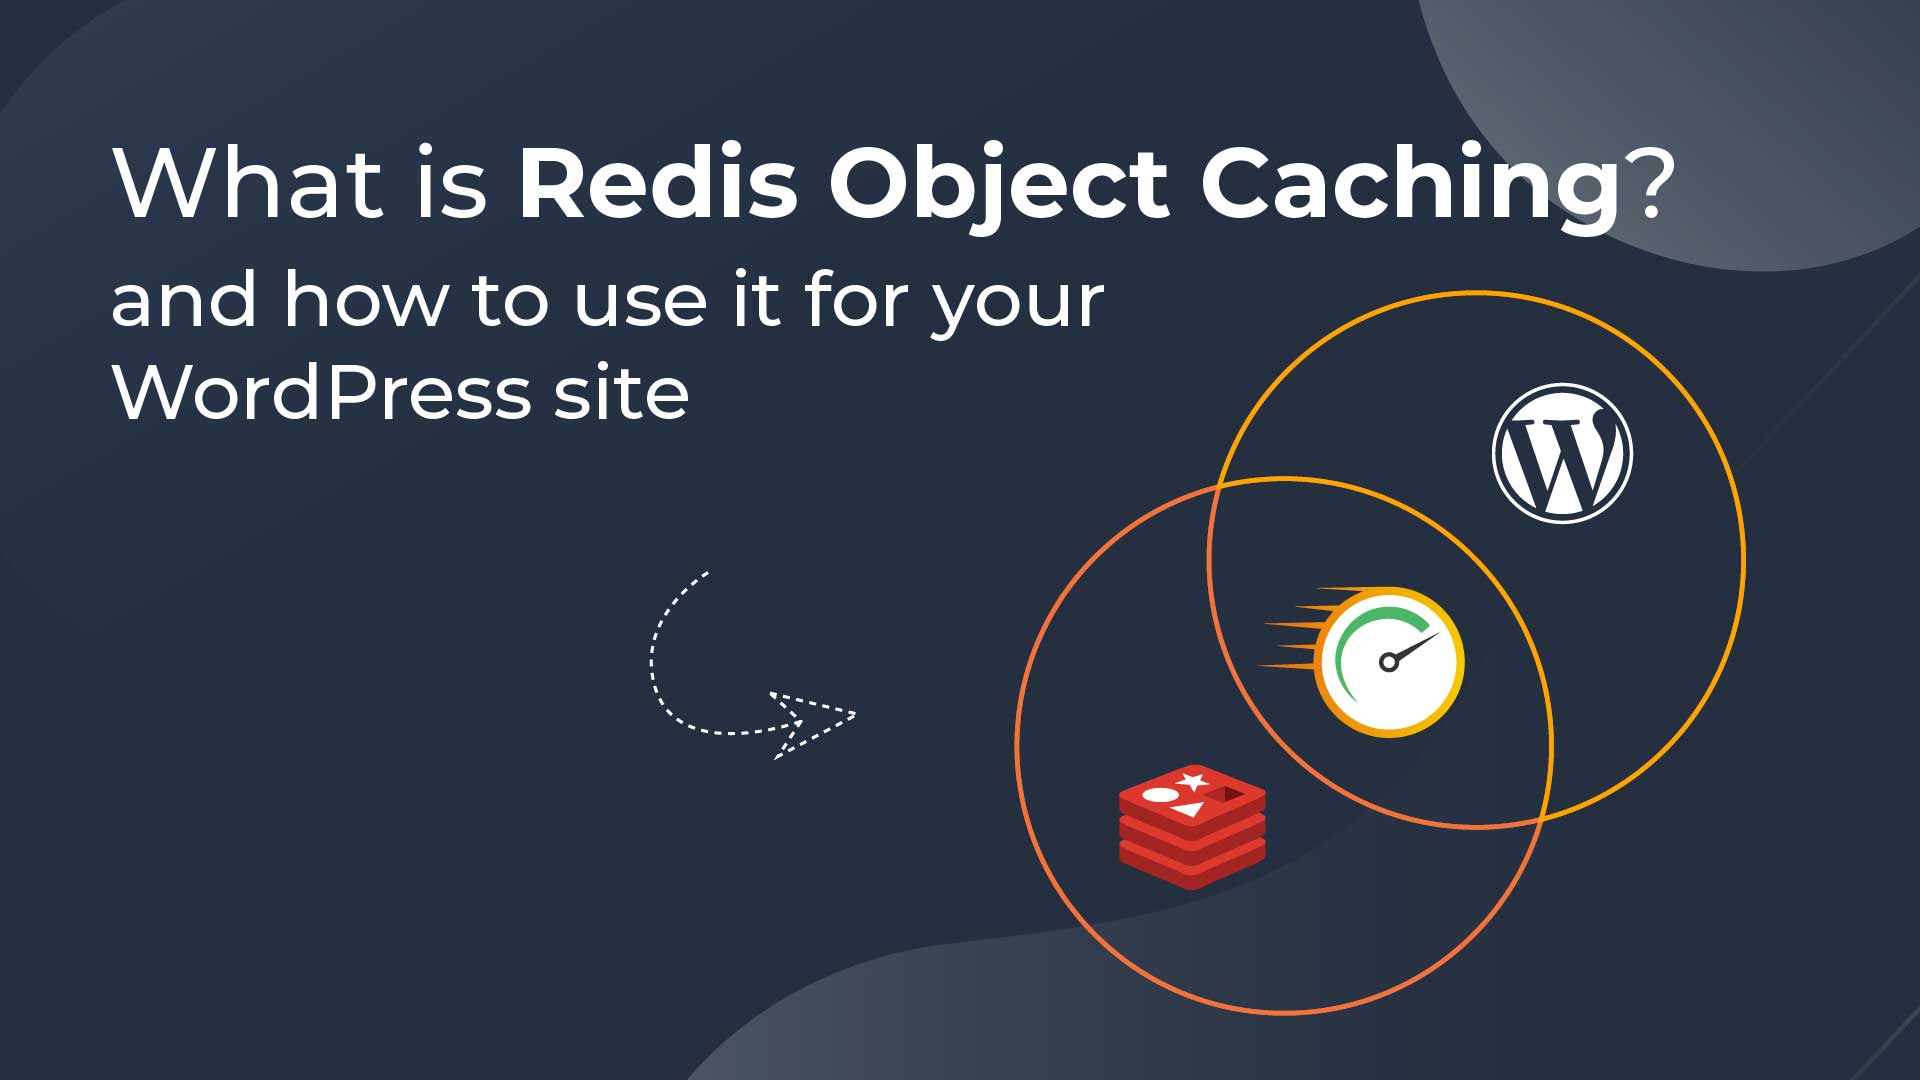
Redis object caching may be just what you need to succeed.
When you implement this form of server-side caching, you’ll be able to store database query results to deliver content as quickly as possible.
Plus, setting up object caching is simple when you choose a quality web host like 20i.
In this post, we’ll take a closer look at how object caching works. We’ll also delve in to the benefits of implementing it on your site.
Finally, we’ll show you how to install and use Redis object caching in WordPress.
What Is Caching?
In a nutshell, caching is temporarily storing data so it can be accessed more quickly at a future date.
You might already be familiar with browser caching (also known as client-side caching):

When your browser cache is enabled, it saves a copy of each website’s files when you first visit it.
Then, when you revisit that site, its content will be delivered faster. That’s because much of the content can be retrieved from your static browser cache, instead of being re-downloaded.
What Is Object Caching?
In contrast, object caching is a type of server-side caching. This means it’s performed on the website’s server, not the user’s browser.
With object caching, the results of database queries are saved on the server itself.
This way, the server can deliver similar data requests from the cache.
Why Is Caching Important for Your WordPress Site?
Now that you know a bit more about caching, you might be wondering why it’s important for your WordPress site.
There are a few main reasons.
First, when you use object caching, you can reduce your Time to First Byte (TTFB) and speed up loading times.
This way, you can deliver a smoother user experience. When your visitors are happy, they’ll be more likely to stay on your site and keep coming back.
Additionally, object caching can be great for your server’s health. That’s because it reduces the server’s workload.
Instead of processing the same requests over and over, the server can just pull data from its cache to serve up content to repeat visitors.
Memcached vs Redis: What’s the Difference?
If you want to implement object caching to improve your site’s performance, you’ll need to decide how you’re going to do it. Memcached and Redis are two of the most popular solutions:
Both are open-source, in-memory data stores. However, Memcached is designed for simplicity, and doesn’t support some of the advanced data structures that you’ll find in Redis.
For instance, Redis can also function as a primary database and message broker. It can even be used for session storage.
What’s more, Redis makes it easier to scale. If your site becomes too big for the open-source version, you can upgrade to Redis Enterprise.
How to Use Redis Object Caching in WordPress
Now that you know a little about Redis object caching, we’re going to show you how to implement it in WordPress.
The process can be a little complicated, and it may vary depending on your hosting provider.
ℹ️ The good news is that if you’re already using 20i WordPress Cloud hosting, Redis comes pre-installed on your Cloud Server, so there’s nothing you need to do! If you use a different web host, go ahead and get started with the following steps.
Step 1: Install and Configure Redis
The first step is to install Redis on your site’s server.
Redis recommends that you use Linux, which shouldn’t be an issue since this is usually the default server for WordPress sites.
You’ll also need the following to run Redis:
When your tools are all ready to go, you can install Redis. Then you’ll need to configure it for caching.
If you’re thinking of switching to WordPress Multisite in the future, you’ll also need to edit your wp-config.php file to include a cache key salt:
define( 'WP_CACHE_KEY_SALT', 'mywebsite.com:' );This will prevent any object caching conflicts. Just make sure to replace the placeholder with your site’s name.
Step 2: Get the Redis PHP Extension
Next, you’ll need to install the Redis PHP extension. You can do this using Phpize.
When you’re ready, you’ll want to restart Redis and PHP to make sure that everything is working properly.
Step 3: Set Up the Redis Object Cache Plugin
Finally, you’ll need to install and activate the Redis Object Cache plugin on your site:
Then, in your WordPress dashboard, navigate to Settings > Redis. Click on the button to Enable Object Cache, and you’re done!
Summary
Whether you’re running your own business website or managing a suite of client sites, fast loading times are crucial to your success.
Implementing Redis object caching in WordPress can help speed up your site by storing database queries in your server cache.
When you opt for a Cloud Server on 20i WordPress hosting, you’ll get Redis object caching out of the box.
However, if you’re using another hosting provider and need to install it manually, just follow these steps:
- Install and configure Redis.
- Get the Redis PHP extension.
- Set up the Redis Object Cache plugin.
Do you have any questions about installing Redis object caching in WordPress? Let us know in the comments section below!
Hi 20i.com team! 🙂
Great support and articles as always.
Have read anecdotally online after a strange issue on the old host before we moved to you, where data was ‘leaking’ between REDIS-configured sites.
Understand that this might be needed on the wp-config.php:
MIGHT need to even specify database number:
define(‘WP_REDIS_DATABASE’, 7); // unique number per site?
define(‘WP_REDIS_PREFIX’, ‘your_site_slug_’);
Is this automatic on 20i.com and not needed, even if all the clients on the Cloud Instance, for example, have a default WordPress table prefix of wp_ ?
Regards,
Paul
Hi Paul,
It’s a good question.
On our Cloud Servers, Redis runs as a shared instance at the server level. Because Redis itself does not automatically isolate data per site, isolation is handled at the WordPress/plugin configuration level rather than by running a separate Redis instance per site.
If you are running multiple WordPress sites on the same Cloud Server and want them all to use Redis object caching, each site must use its own Redis namespace. This can be achieved by either:
Assigning a unique Redis database number per site (Redis provides 16 logical databases by default), and/or
Defining a unique Redis key prefix (or salt) per site
Both approaches prevent cache key collisions and ensure cached data cannot be shared between sites. Many users choose to use both for extra safety.
If you’re using the “Redis Object Cache” plugin from WordPress.org, it supports both options and documents them here:
https://wordpress.org/plugins/redis-cache/#installation
So in short:
Redis is shared per Cloud Server
Cache isolation is not automatic per site
You should configure a unique Redis database and/or prefix for each site that uses Redis
If you need any assistance with that feel free to reach out!
Kind regards,
20i Support